Do you want to grow plants indoors? But is your indoor space low on sunlight?
A grow light can help!
But aren’t grow lights ugly? Or too purplish?
What if I told you you could have a shabby chic grow light box that you can DIY yourself? And that it only takes 4 simple items?
Here’s what you’ll need to get:
- 1 large wooden crate (available at craft stores)
- Bright white LED puck lights (at least 6000k)
- Pan Phillips metal screws #6 x 1/2 in. – flat screws may damage the LED lights
- A short Phillips screwdriver
If you feel like the crate is too plain, you can customize it with painting! Do that before you continue with this tutorial.
Make Your Grow Light Box
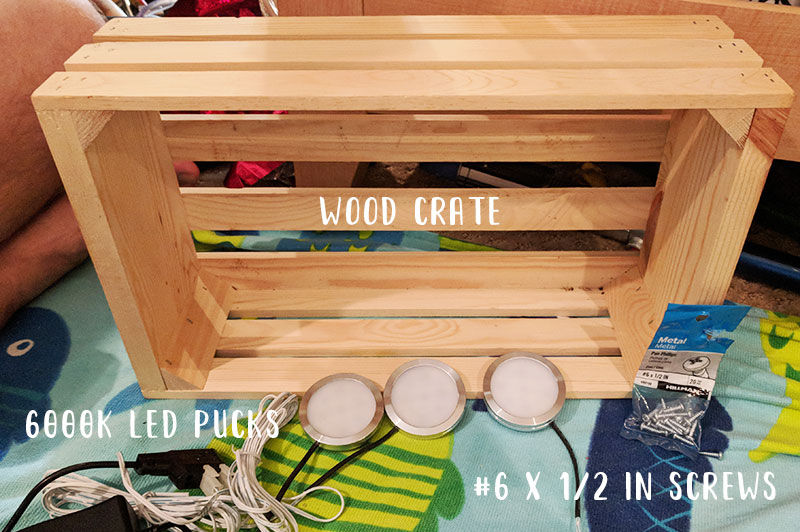
First, gather your materials. Take off the frosted lids from the light pucks and set aside in a safe place.
You will be screwing the light pucks on the inside of the wood crate on one side. If you’d like the light pucks to be evenly placed, you can measure/mark the spaces with a pencil. When you’re ready, screw the light pucks in using the metal screws.
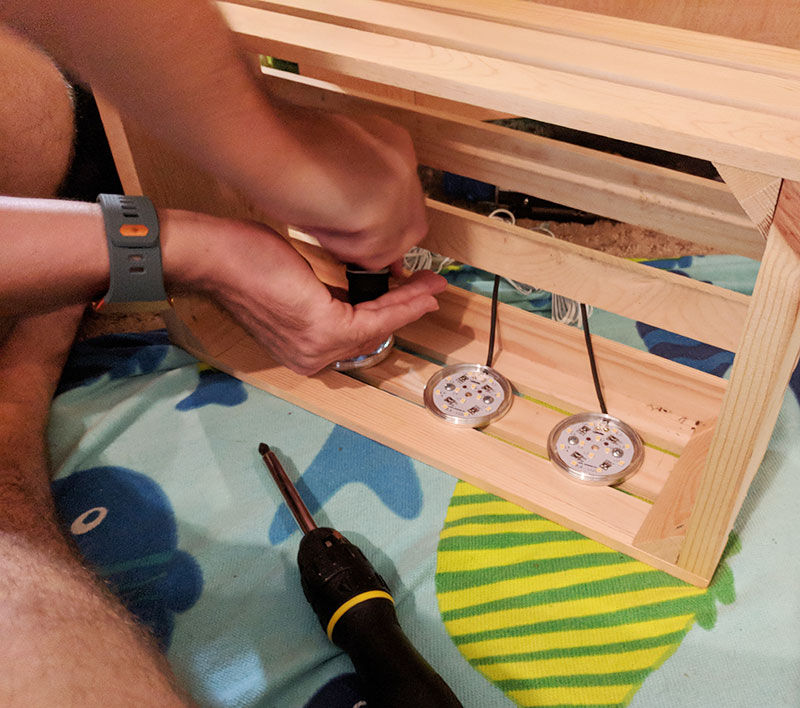
When all pucks are screwed in, you can thread their cables behind the crate and hook the pucks up to their power source. Plug them in, and you’ll have your very own LED light box for growing plants!
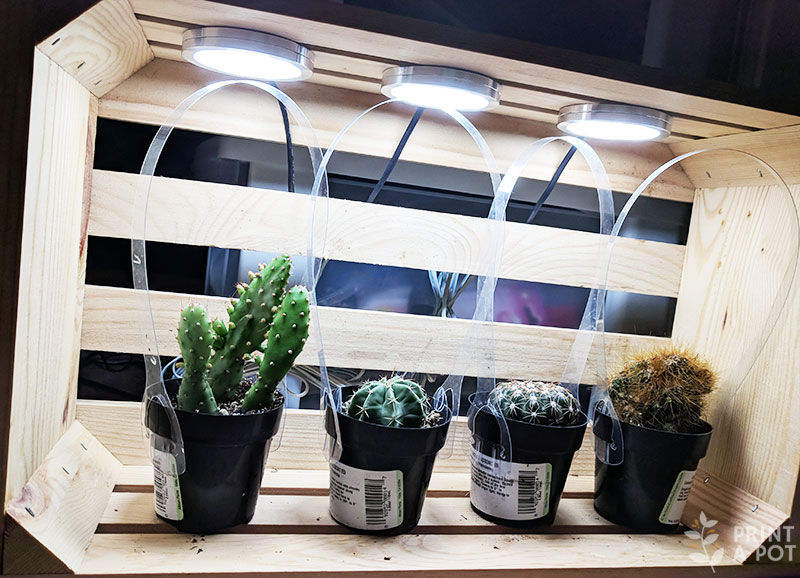
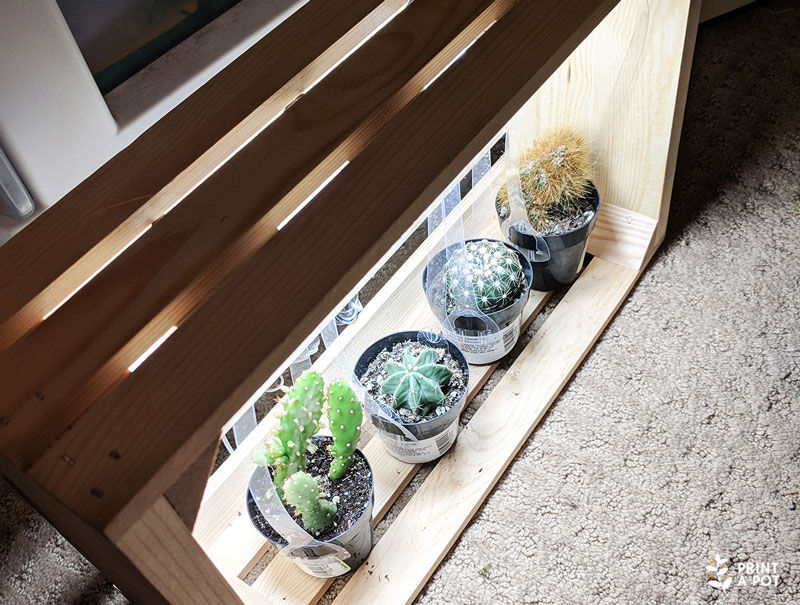
You now have your very own grow light box that you can place anywhere your crate will fit and has access to electricity. This means you can have this in your kitchen, in your bedroom, in your office cubicle, or you can even make several of these and make a stacked tower of lighted boxes!
There are sets of multiple light pucks, so you can even make several crates with only one set of puck lights—just be sure to get 6000K lights so plants will get the correct light wavelengths! Don’t want to turn the lights on and off every day? You can also set them on a timer to automate the lighting.
When using this box, plants with high light requirements should grow and even possibly thrive with correct care!

