One of the best ways to add new and rare succulents to your collection is by growing them from seed! Why would you ever want to grow succulents from seed? If you’ve ever wanted a rare Echeveria, you know how expensive they can be. Seeds are much cheaper, and you’re able to grow several plants with a smaller money investment. All it takes is time and patience!
Echeveria Seed Growing Supplies
Want to get growing with Echeveria seeds? There are a few things you’ll need to prepare.
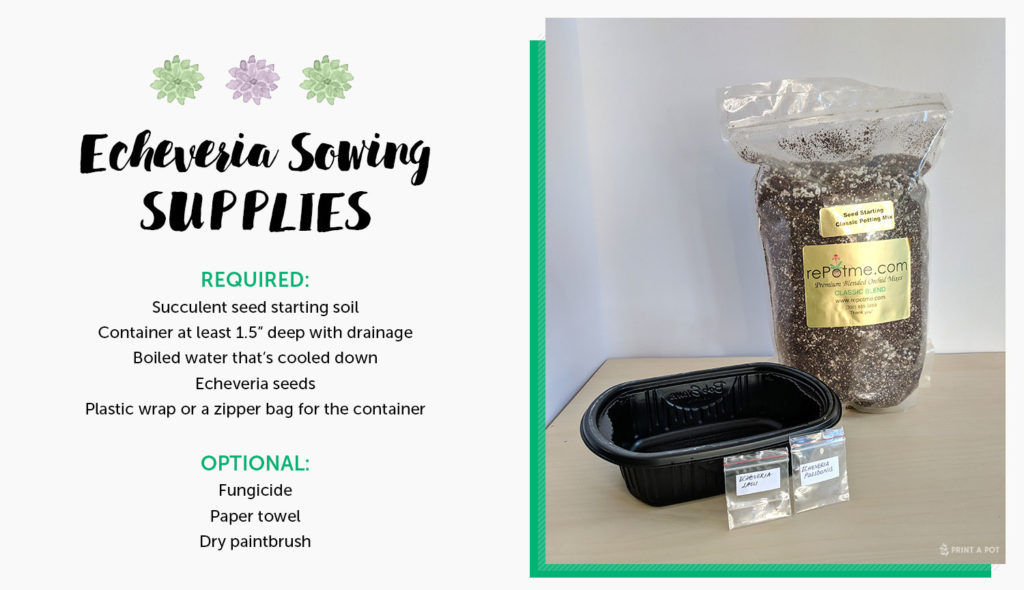
Supplies:
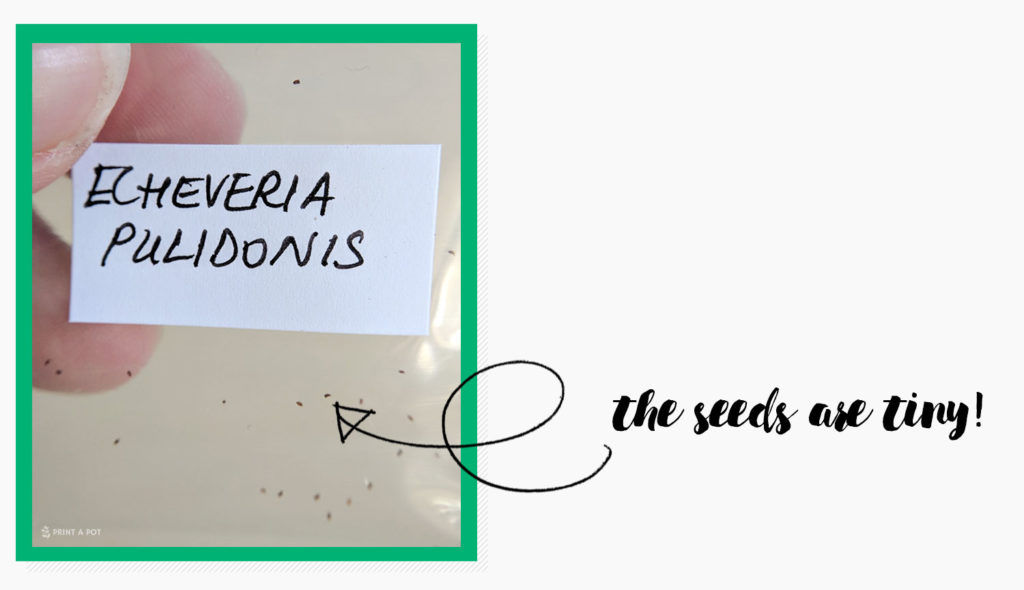
- Echeveria seeds
- Succulent seed starting soil or an equal parts mix of garden soil, sand, and perlite or pebbles
- Container at least 1.5″ deep with drainage
- Boiled water that’s cooled down
- Plastic wrap or a zipper bag for the container
- Optional: Fungicide, paper towel, dry paintbrush
Further preparation is needed so you have the best chance at echeveria seedlings. Before you begin, you should sterilize your soil/substrate. You can do this by microwaving for 3 minutes or by baking for 45 minutes at 350°F. You should also sterilize your container with alcohol or with boiling water.
How to Grow Succulent Seeds
Once you have all of your supplies ready, it’s time to get growing!
Instructions:
- Fill the container with your soil and leave about 0.4″-0.5″ of space at the top.
- Water the soil by submerging into a container of water or by laying a paper towel on top of your soil and watering gently. Let the excess water drain.
- Spread the seeds over the soil. You can use a dry paintbrush to help spread them apart.
- Keep soil moist by covering with plastic wrap or place into a zipper bag. Keep your container out of direct sunlight and aim to keep the seeds at 70°F.
- Open the container every day to ventilate for a short amount of time.
- The seeds should start germinating in about 4 days, with most seeds germinated in a couple of weeks. After this happens, start opening the container gradually so they can get used to the room’s conditions. Keep the soil slightly moist (never let it dry) and provide ample light (but not direct sunlight).
- Once the seedlings get larger and take up most of the space in the container, you can repot! Repot them carefully, being sure to take some of the seedling’s soil to keep the roots intact.
Where to Purchase Echeveria Seeds
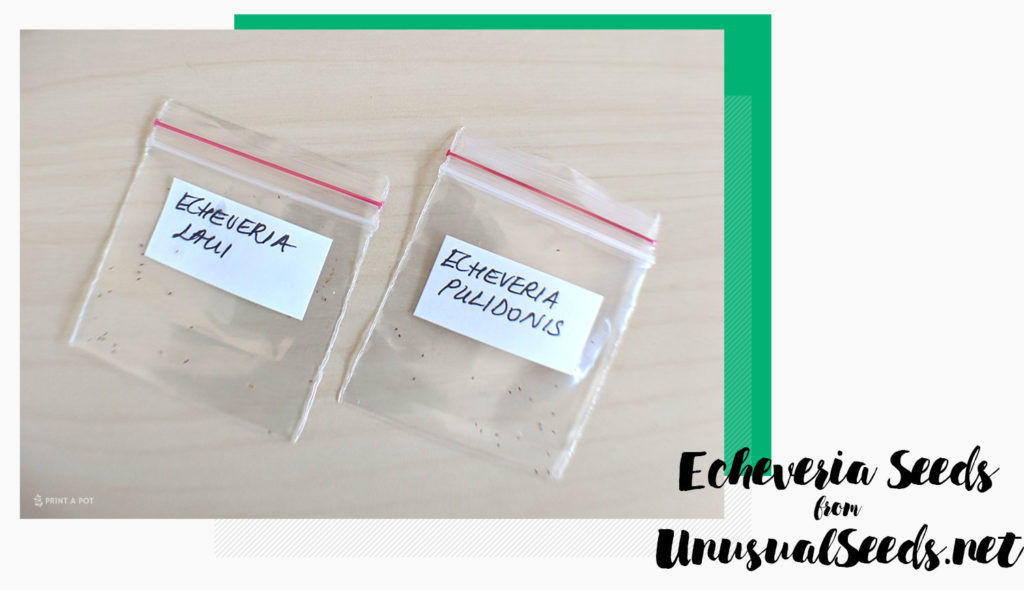
It’s really important to purchase seeds from a reputable seller, or else you could risk getting something other than the seeds you wanted! If you purchase from a marketplace like Etsy, Amazon, or eBay, definitely take a look at the reviews of the sellers. UnusualSeeds.net has a variety of rare and uncommon seeds, and has many 5-star reviews on their Etsy store.
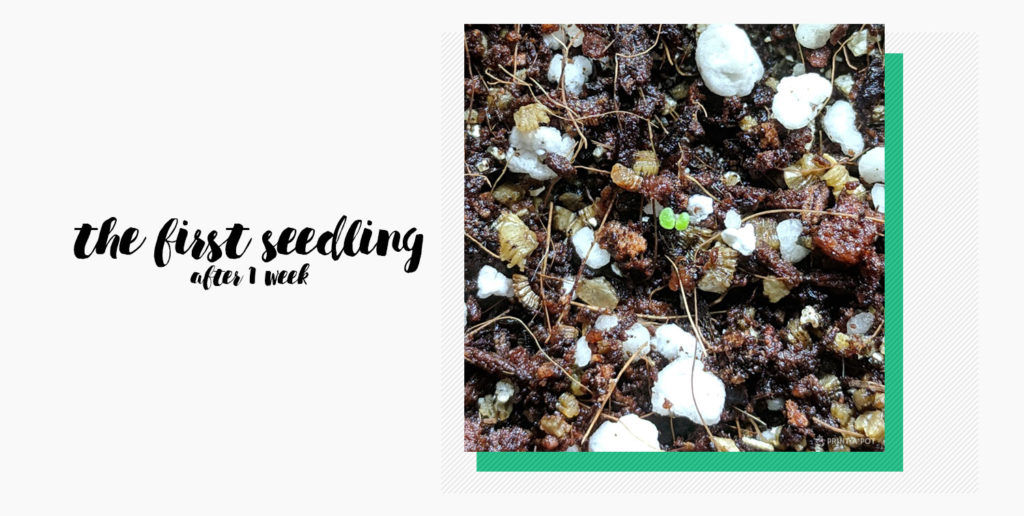
Seed Progress
After one week, I’ve already spotted several seedlings. As time goes on, I’ll update this post with more info!
Have you ever grown succulents from seed? Which Echeveria species would you like to grow?
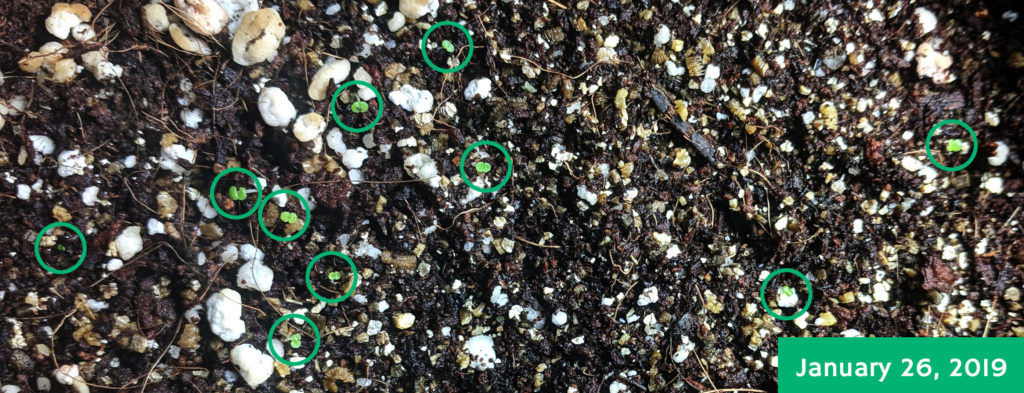
Update 1: 25 days later
I’ve had the seedlings indoors on a shelf with a grow light inside a zipper bag. The seeds were provided with diffused light and while the indoor temperatures were often 70° F or higher, we sometimes opened the room to the outside so temperatures could have been 55-65° F which would slow down germination. The first 2 weeks had 2-3 seedlings pop up, and many more popped up within the last week:
Disclaimer: Seeds were provided for free in exchange for an honest how-to article.